
How to Load a Ceramic Kiln Correctly
How to Load a Ceramic Kiln Correctly
Ceramic pieces, kiln shelves and the space between them
Key insight:
A well-planned load requires stable support, suitable clearances and thoughtful distribution of the pieces.
Several mugs, a few bowls and one tall vase are waiting on the table. How should you arrange them in the kiln so that the entire load fits, the pieces are not damaged and suitable firing conditions are maintained?
The chamber volume is not the only consideration — the kiln furniture and its arrangement also matter. Shelves positioned too closely together or arranged incorrectly may affect both the heating process and the firing results. [4]
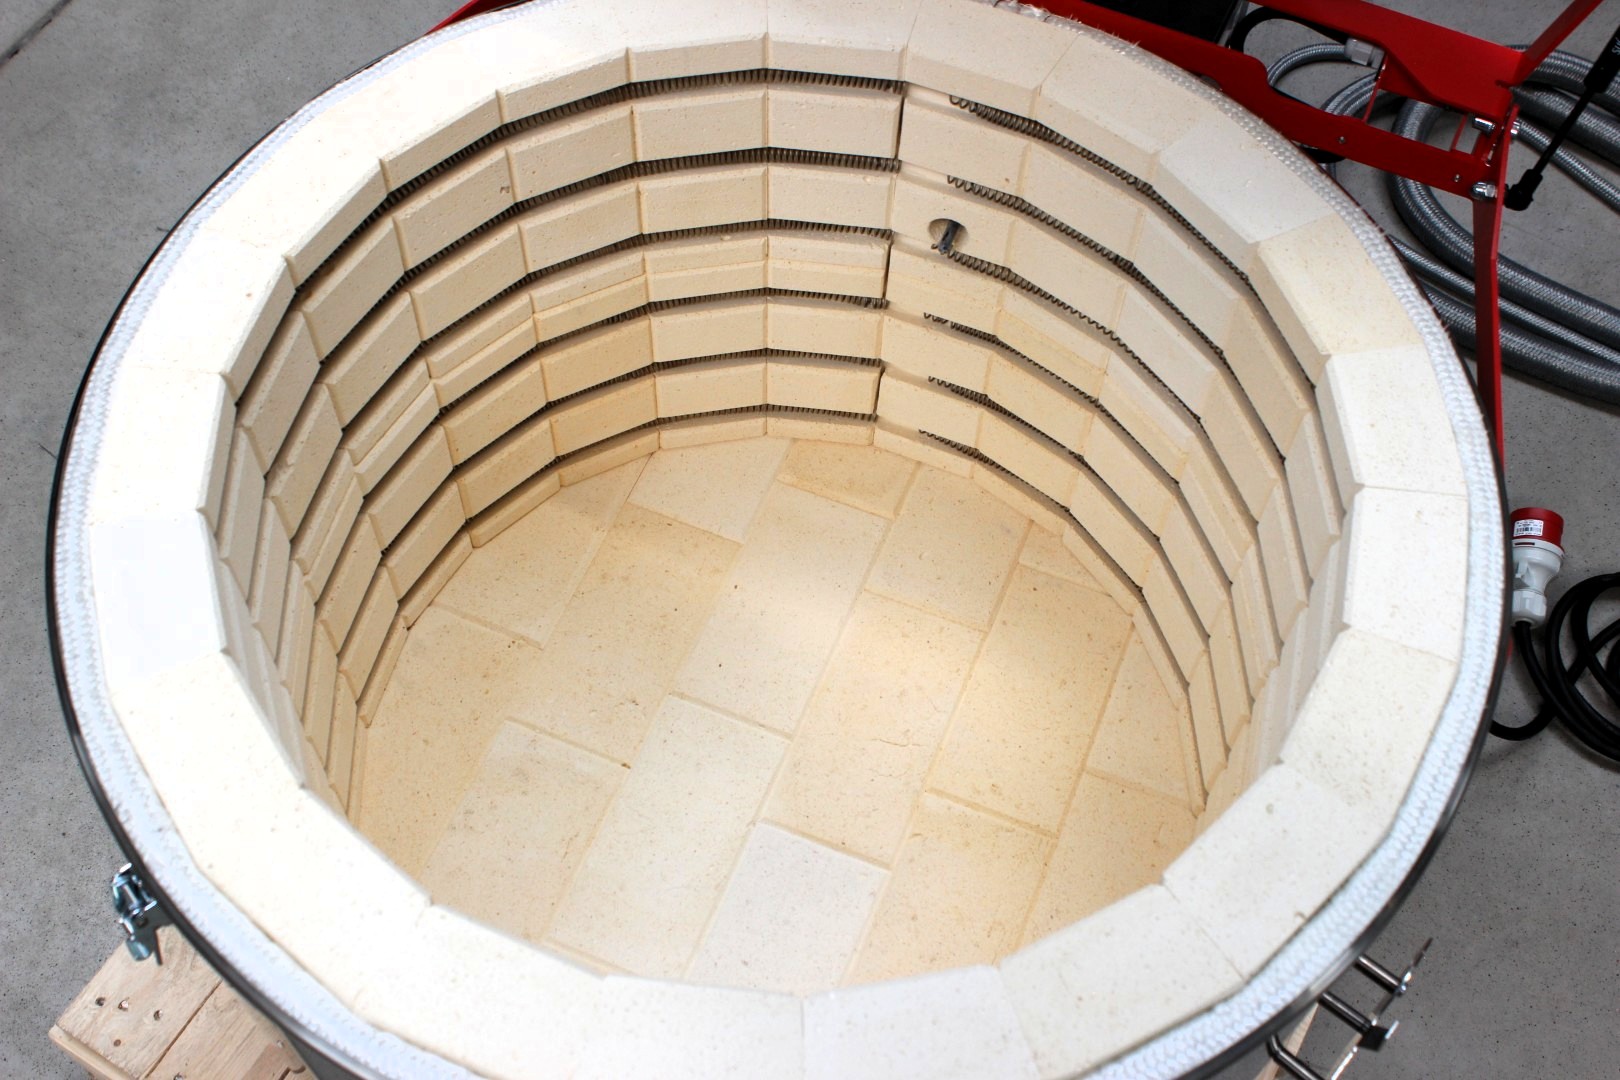
This guide covers conventional electric ceramic kilns. It does not replace the operating instructions: the specified clearances, load limits and safety procedures for the particular kiln and kiln furniture always take priority.
First decide which pieces belong in the same load
Check that all the clay bodies and glazes are suitable for the planned firing programme. Do not add an unknown material simply to fill an empty space.
In schools and shared studios, labelling pieces and keeping records of the clay bodies used can help prevent mistakes.
Prepare the pieces before loading
- For bisque firing: prepare pieces that have been thoroughly dried. Resolve any uncertainty about residual moisture before loading the kiln. Available space is not a reason to rush the drying process. [1]
- For glaze firing: allow glazed pieces to dry in accordance with your process. Handle them carefully to avoid damaging the applied glaze layer. [5]
Bisque and glaze firings require different loading arrangements
The main difference is the glaze. During firing, it melts and may bond adjacent pieces together or stick a piece to its support. [2]
| What should you check? | Conventional unglazed bisque firing | Glaze firing |
|---|---|---|
| Pieces touching | This may be permissible depending on the shape, clay body and process. | Glazed surfaces must not touch adjacent pieces. |
| Stacking pieces | Only where the stability and method of support have been verified. | Do not automatically copy the bisque-loading arrangement; use suitable kiln furniture. |
| Contact with the kiln shelf | Assess the support and behaviour of the clay body. | Remove glaze from the contact surface or use kiln furniture intended for the particular process. |
Plan the shelf arrangement in advance
Sort the pieces according to their height and dimensions. You can test their arrangement on a table using a shelf of the same shape and size as the one used in the kiln.
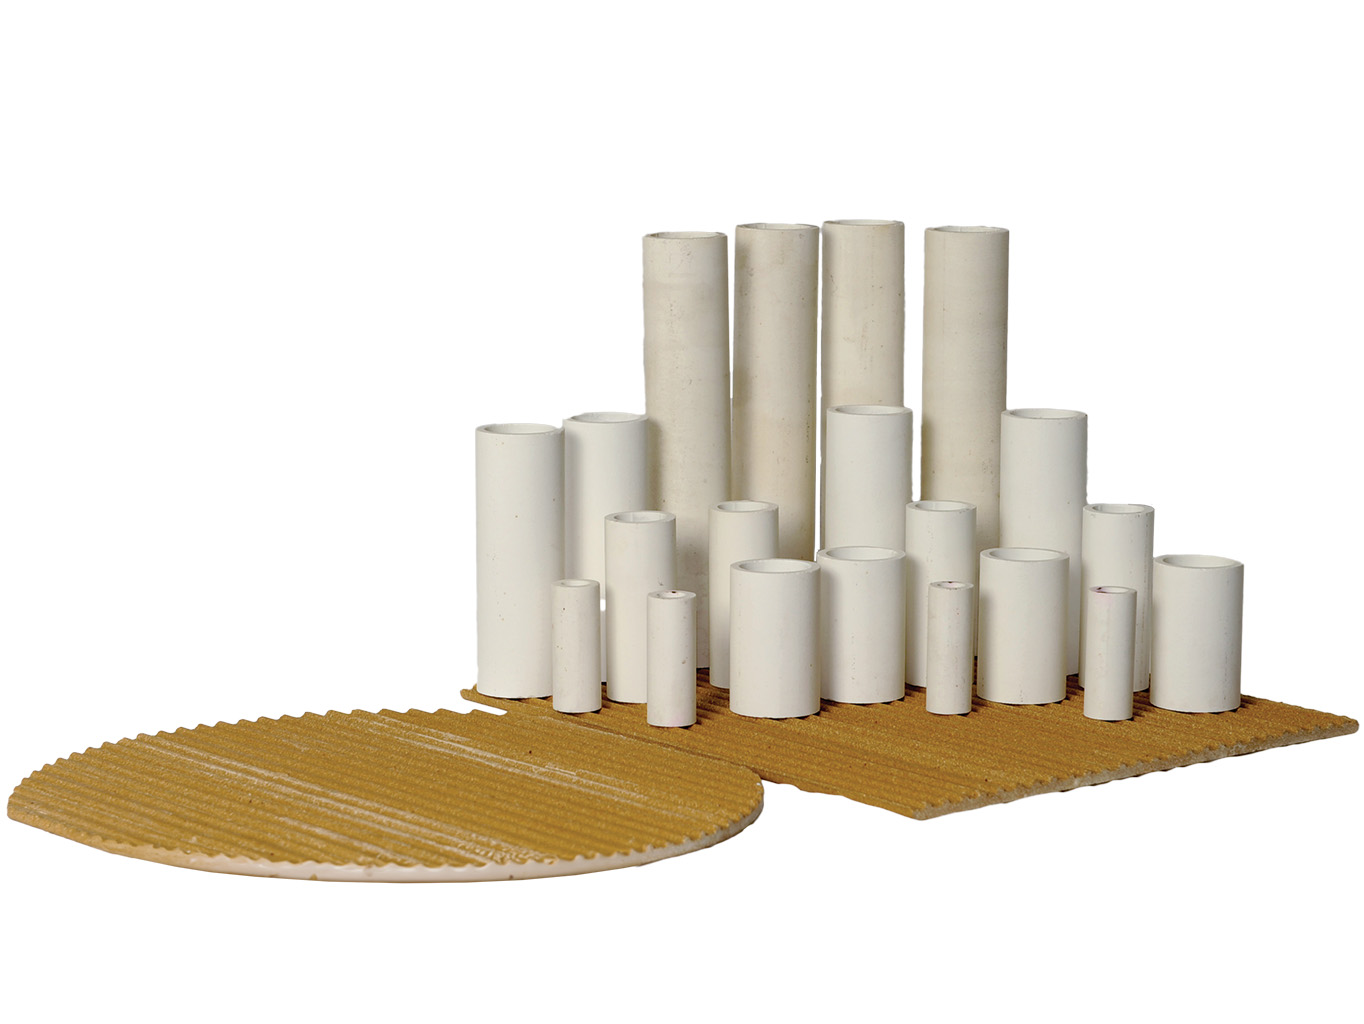
Even during this preliminary layout, leave room for the spacing columns and the required clearances.
Plan all levels before loading
- Include the tallest pieces in the initial plan.
- Allow space for spacing columns and required clearances.
- With a top-loading kiln, consider how each shelf will be lowered safely into the chamber.
- Make sure the shelves cannot strike the pieces, thermocouple or heating elements during loading.
Do not select the number of levels simply according to how many shelves you own. Insufficient space between the shelves may restrict the access of radiant heat to the pieces.
The distribution of mass within the chamber also affects firing uniformity. A densely loaded lower section combined with an almost empty upper section is not automatically a suitable arrangement. [4]
Kiln shelves and spacing columns must form a stable structure
Choose each kiln shelf according to its dimensions, material, temperature rating, firing schedule and expected load. It is not enough for the shelf simply to fit inside the kiln.
Before use, inspect it for cracks, damaged edges and deformation. Have any questionable component assessed or replace it. Prepare and dry new or damp kiln furniture in accordance with the manufacturer’s instructions. [3]
Position the supports correctly
In a conventional arrangement of shelves supported by spacing columns, the supports on each level should generally be positioned directly above those below. This allows the load to be transferred down through the supports.
However, the required number and exact position of the columns depend on the particular shelf and arrangement. The rule “always use three supports” is not suitable guidance for every shape and construction. [2]
Also verify how the lowest shelf should be supported and the permitted load of the complete assembly. Do not assume that the load rating of one component is automatically the load rating of the entire stack of shelves.
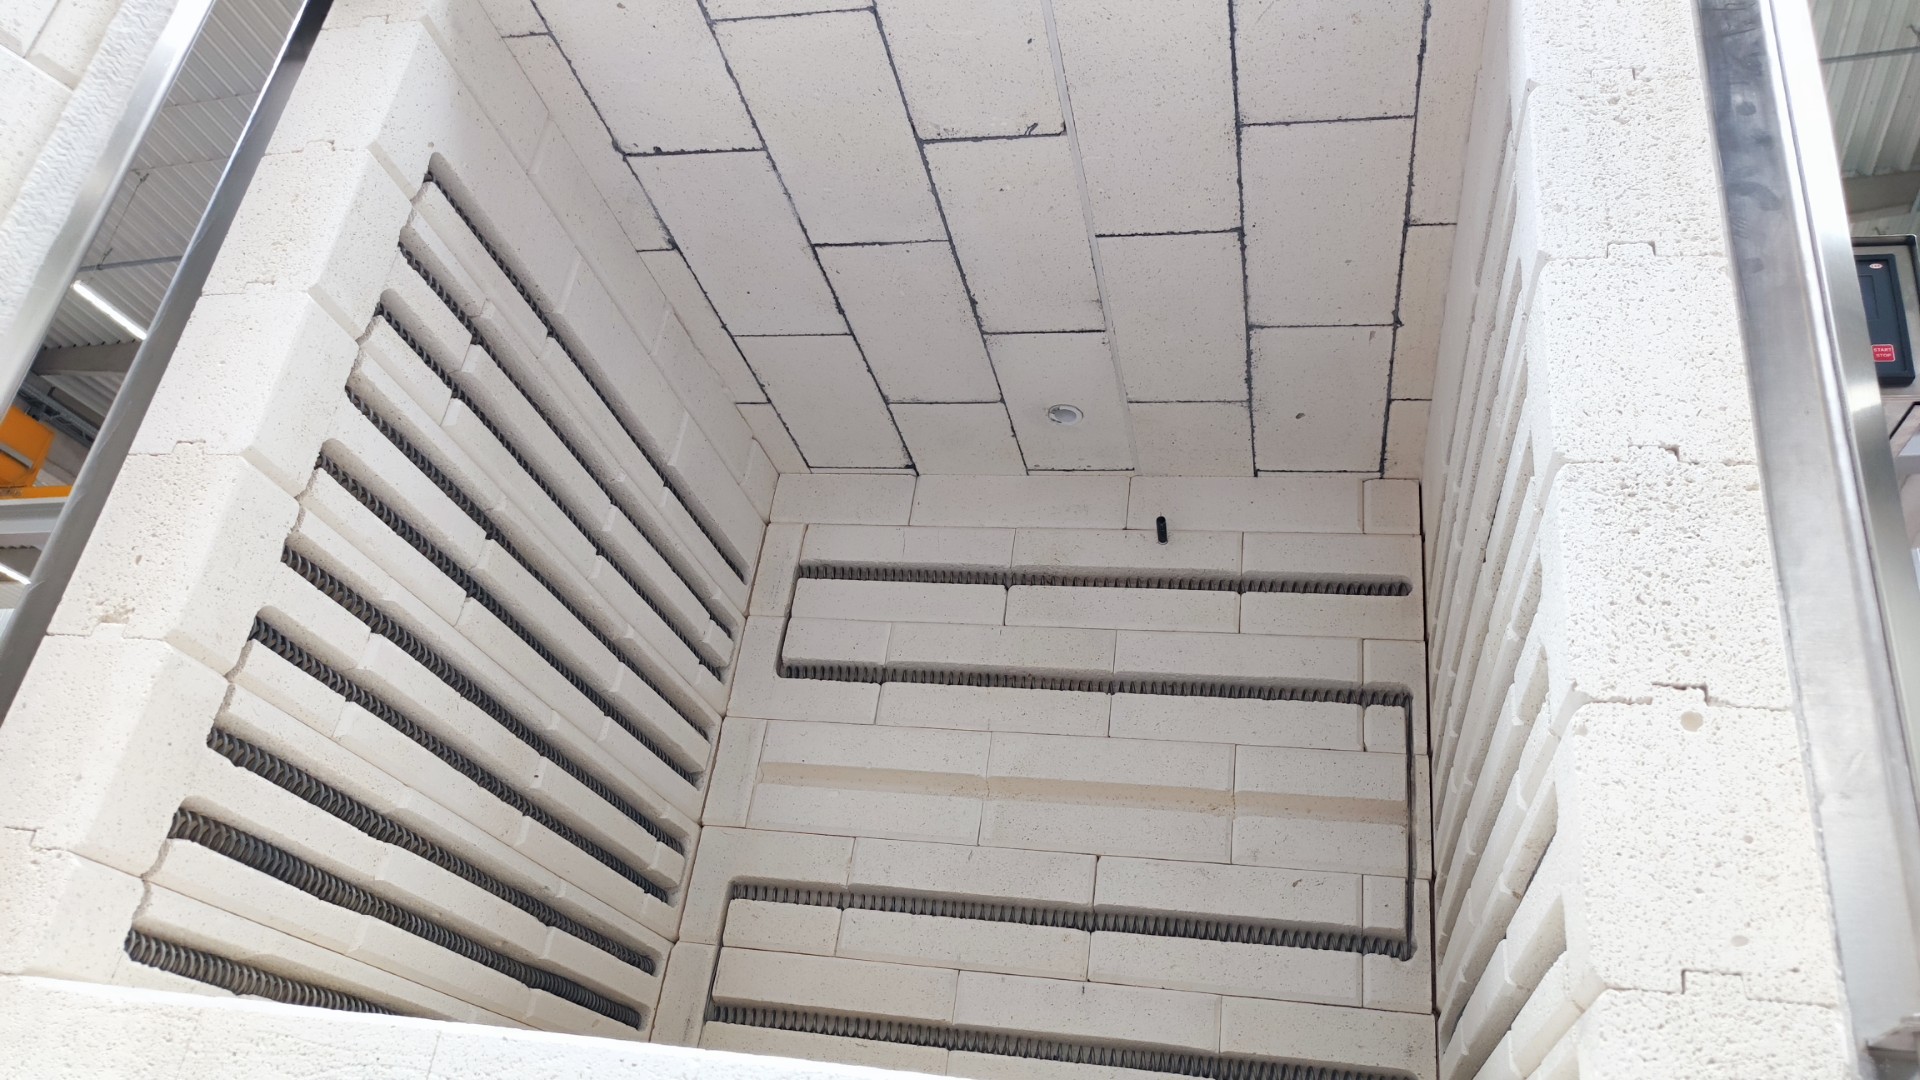
Leave sufficient space around the thermocouple and heating elements
The thermocouple is the sensor used by the controller to monitor temperature. A piece, shelf or spacing column positioned too close to its measuring tip may affect the measurement.
Keep the area around the sensor clear in accordance with the kiln manufacturer’s specified distance. [4]
Check all required clearances
Remember the required distance from the thermocouple, chamber walls, heating elements and closed lid or door. Check the highest point of every piece as well as the edges of the shelves.
The fact that the lid or door can be closed does not by itself confirm that the kiln has been loaded correctly.
One universal clearance stated in centimetres cannot safely be transferred between different kilns. If you cannot find the required distance in the documentation, confirm it with the supplier for your particular model and kiln-furniture arrangement.
Protect kiln shelves from glaze
When placing a piece directly on a kiln shelf, remove glaze from its contact surface. The width of the unglazed area should reflect the behaviour of the particular glaze and the glaze manufacturer’s recommendations.
With an untested combination, first carry out a small test using suitable protection for the shelf. [5]
Kiln wash is not a universal solution
Kiln wash can help reduce sticking, but its suitability and method of application depend on the shelf material and firing process. Loose flakes may contaminate pieces positioned below the shelf. Use the recommended product and maintenance procedure. Kiln wash does not replace the correct preparation of the piece’s contact surface. [3]
If you use stilts, setters or other supports, verify that they are suitable for the firing temperature, ceramic body and weight of the piece. Kiln furniture intended for one type of ceramic process may not be suitable for another.
A short check before starting the kiln
In addition to the manufacturer’s instructions, include the following questions in your own operating checklist:
- Are all the pieces properly prepared and suitable for the selected programme?
- Are the shelves and spacing columns undamaged, correctly supported and within their permitted load limits?
- Are glazed surfaces clear of neighbouring pieces, and have all shelf-contact surfaces been prepared correctly?
- Have the specified clearances from the thermocouple, heating elements, chamber walls and lid or door been maintained?
- Have the prescribed kiln checks and controller settings been completed before start-up?
Record the loading arrangement
Appropriately selected pyrometric cones positioned within the load according to their manufacturer’s instructions can help you monitor the results. They indicate the combined effect of time and temperature at a particular position. [6]
Photographs of the loading arrangement and records of the results will allow you to compare specific changes during future firings instead of relying on estimates.
Consider kiln furniture when choosing the kiln
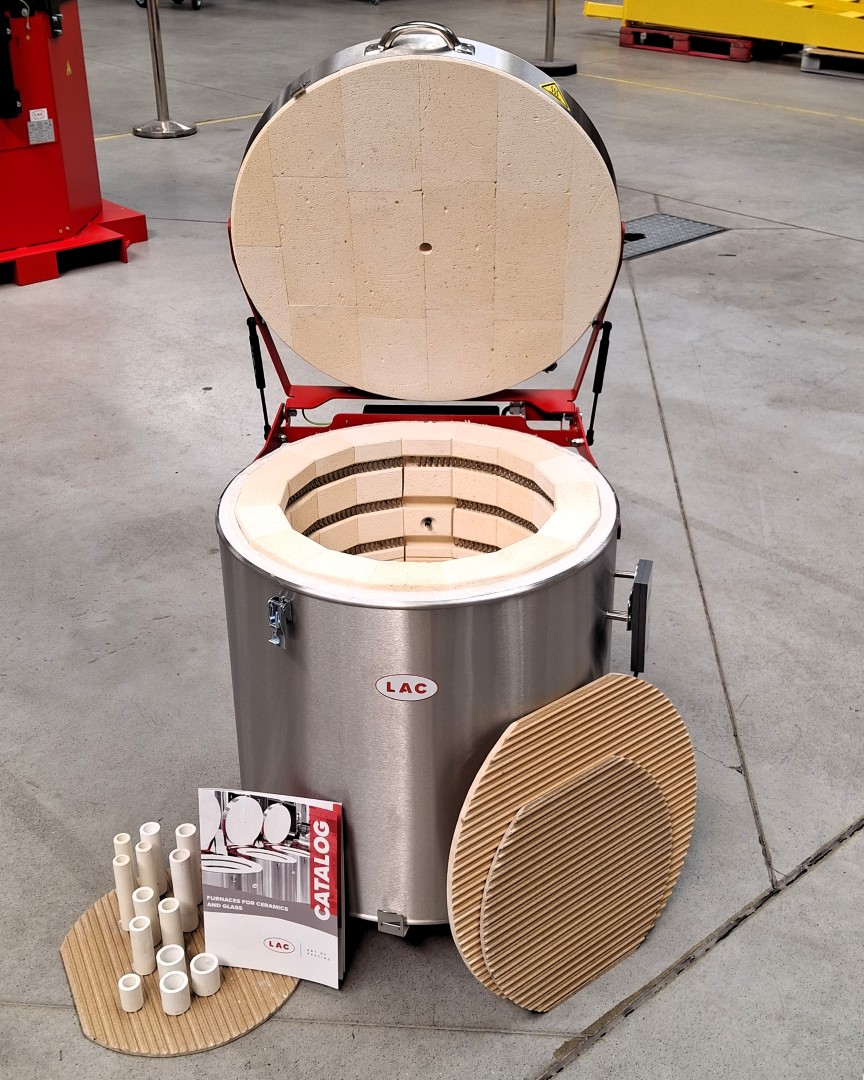
LAC offers cordierite-mullite kiln shelves and spacing columns as optional accessories for the M series. These components can be used to create several firing levels.
Chamber volume is not the same as the space available for ceramic pieces: kiln furniture and the required clearances occupy part of it. [7]
To help design a suitable arrangement, provide the dimensions, photographs and weight of typical pieces together with the required firing process. For an existing kiln, also include the model designation and details of the kiln furniture currently used.
Explore LAC ceramic kilns and equipment
Compare ceramic kilns, controllers and available configurations for hobby studios, schools and professional workshops.
👉 Explore LAC kilns and controllers
👉 View the complete range of LAC ceramic and fusing furnaces
Do you need to select a ceramic kiln and suitable equipment for your studio?
Send us the dimensions, photographs and weight of your typical pieces together with details of the intended firing processes. We will discuss your products and proposed loading arrangement with you so that you can assess the complete configuration.
Are you missing the instructions for an existing LAC kiln?
You can search for documentation by model type and serial number on the technical support page. If you cannot find the required documents, contact the LAC service team.
👉 Visit LAC technical support [8]
A general article cannot replace the operating instructions for your particular kiln.
What to remember
Correct loading is not simply about fitting as many pieces as possible into the chamber.
Prepare compatible pieces, build a stable shelf arrangement, maintain the specified clearances and document each load so that the results can be compared.